
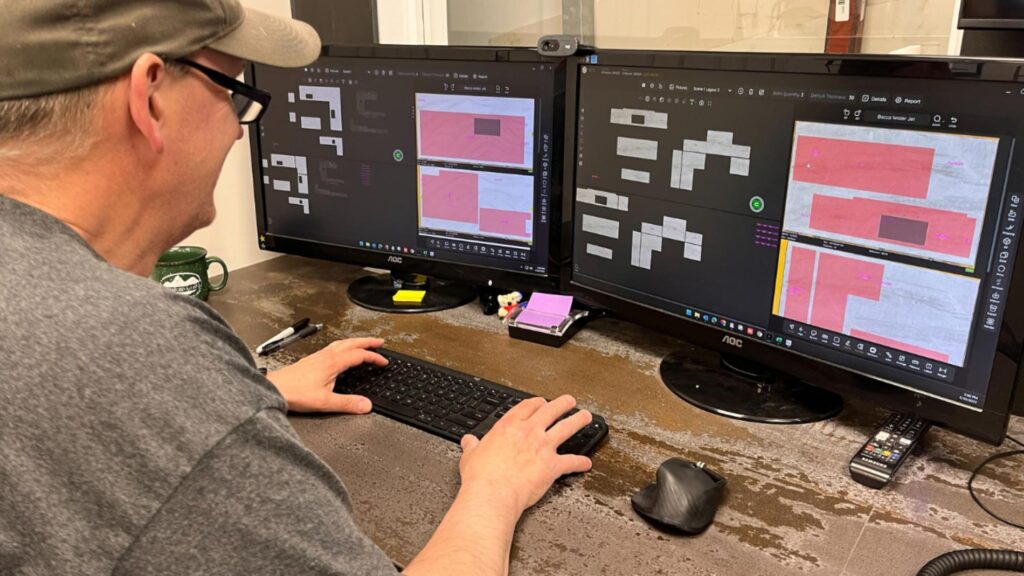
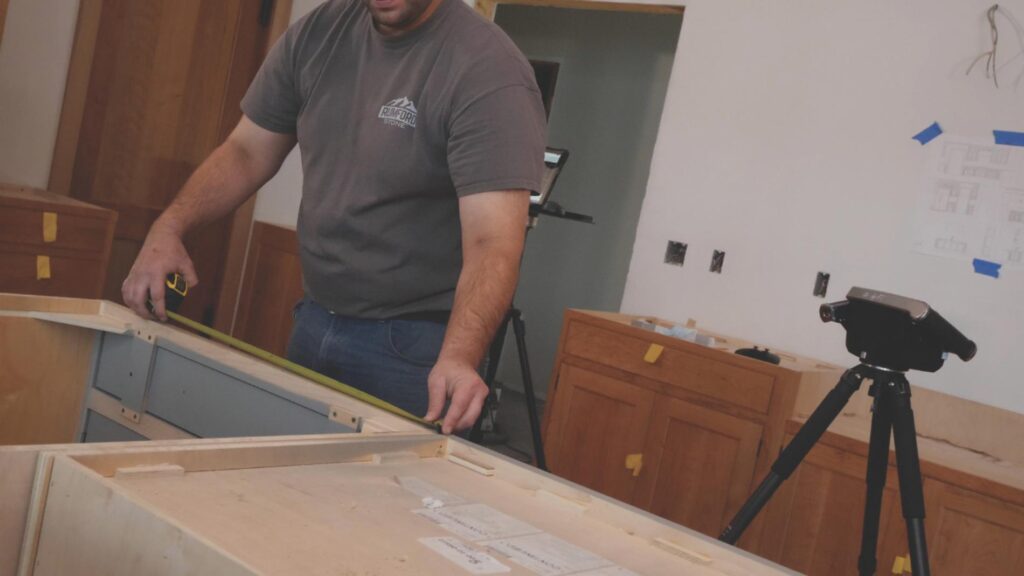
Once templating is done, most people expect installation to be right around the corner. There’s usually a stretch in between, and from the outside it can feel like a delay. It’s not. That’s the part where the project actually gets figured out and built before anything ever arrives at the house.
The Layout Stage
The first real step after templating happens in the layout.
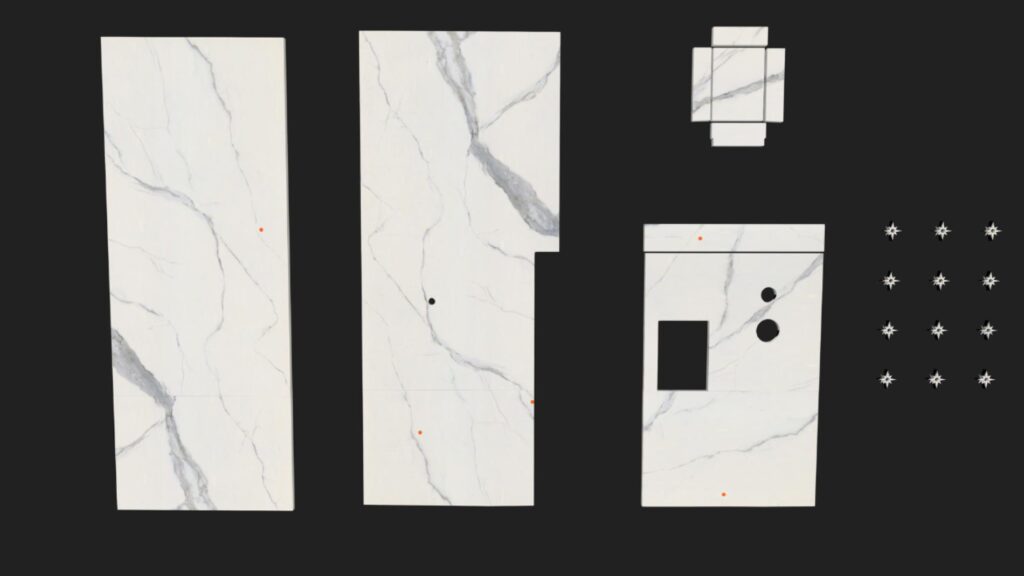
Measurements from your space are applied to your actual slabs, and that’s where the countertop starts to take shape. It’s not just about fitting pieces into a drawing. It’s deciding what part of the slab ends up in the most visible areas, how the veining moves across the surface, and where seams need to land so they make sense.
With materials that have movement, small shifts here can completely change how the finished kitchen looks. This is where those decisions get made, not later.
Reviewing the Plan
Before anything is cut, the layout gets reviewed.
Sometimes it’s quick and straightforward. Other times it takes a little more discussion, especially if there’s a specific section of the slab you want to highlight or if a seam could reasonably go in more than one place. There are always some constraints based on slab size and how the material needs to be handled, but within that, there’s usually some flexibility.
Once it’s approved, the plan is locked in and everything that follows is based on that layout.
Work in the Shop
After approval, the focus shifts fully into fabrication.
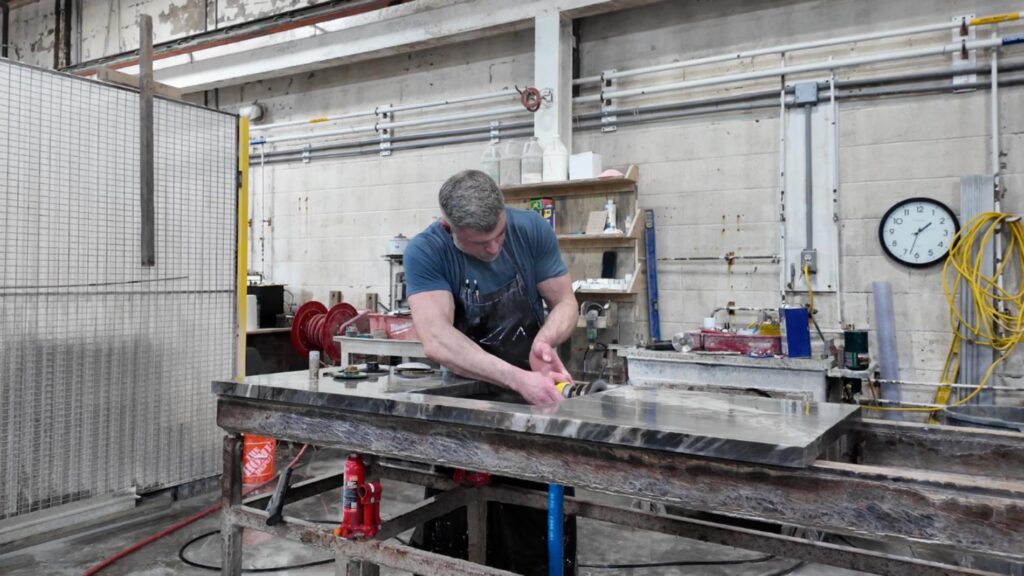
The slab is cut according to the layout, and each piece starts to become part of the finished countertop. Edges are shaped, cutouts are made for sinks and appliances, and everything is refined so it fits the space it was measured for.
This part is more hands-on and tends to move steadily. Different materials require slightly different handling, but the goal stays the same. Everything needs to match the plan so installation doesn’t turn into guesswork.
The Details That Show Up Later
There’s a portion of the process that doesn’t take long but makes a difference once everything is installed.
Edges get their final polish, surfaces are cleaned, and any small adjustments are handled before the pieces leave the shop. It’s not the most visible step, but it’s the kind of work that shows up in the finished result without drawing attention to itself.
Getting Ready for Installation
By the time installation day is scheduled, most of the important work is already done.
The pieces are cut, finished, and organized so they can be brought into the home and set in place efficiently. Installation is still a critical step, but it depends heavily on everything that came before it being accurate.
Final Thoughts
The time between template and installation isn’t downtime.
It’s where the project is actually built, decisions are finalized, and everything is prepared so the install can go the way it should. When that part of the process is handled carefully, the finished result tends to feel clean and intentional rather than pieced together.




